
Simple Monthly Garage Door Maintenance Checklist for Homeowners
Hey there, fellow homeowner! Most of us don’t give our garage doors a second thought until they start squeaking, sticking, or worse—refusing to budge altogether. But here’s the good news: a quick monthly routine can keep everything running smoothly without much hassle. It only takes about 10 to 15 minutes, and it helps dodge those surprise repair bills that can add up fast. In this guide, we’ll walk you through a straightforward garage door maintenance checklist that’s easy to follow, so your door stays safe, quiet, and reliable for years to come. Whether you’re in a busy family home or just want peace of mind, these simple steps make a big difference.
Why a Monthly Garage Door Maintenance Routine Matters
Sticking to a consistent garage door maintenance checklist helps in so many ways that go beyond just avoiding headaches. For starters, it extends the life of key parts like springs, rollers, and the opener itself, which means your whole system lasts longer without needing major fixes. You’ll cut down on annoying noises, sudden jams, or even dangerous malfunctions that could put your family at risk.
The International Door Association also shares garage door safety and maintenance best practices and emphasizes that regular garage door maintenance helps reduce unexpected breakdowns and improves overall safety.
Spotting small problems early, think a loose bolt or a bit of rust, prevents them from turning into expensive garage door repairs down the line. Plus, this habit saves you money overall and makes your garage door more dependable day in and day out. The best part? A short monthly check means fewer emergency calls to pros, giving you more control over your home’s upkeep.
Monthly Garage Door Maintenance Checklist for Homeowners
Keeping your garage door in top shape doesn’t have to be complicated. This checklist breaks it down into easy, actionable steps you can do in one quick session each month. Grab a few basic tools like a wrench, lubricant, and a cloth, then set aside a quiet morning to go through it. Most homeowners find it becomes second nature after a couple of tries, and it pays off with smoother operation and fewer surprises.
1. Start with a Visual Inspection
Begin by stepping back and giving your entire garage door a good once-over. Look closely for any signs of rust on the metal parts, dents in the panels, or loose hardware that might be wiggling free. Pay special attention to the springs up top, the cables running along the sides, the rollers that guide the door, and the tracks it slides on.
Check if anything looks frayed, cracked, or out of alignment. These are early clues that something needs attention. Catching minor damage like this now can stop it from escalating into a full breakdown, saving you time and cash on bigger fixes later.
2. Tighten Bolts and Screws
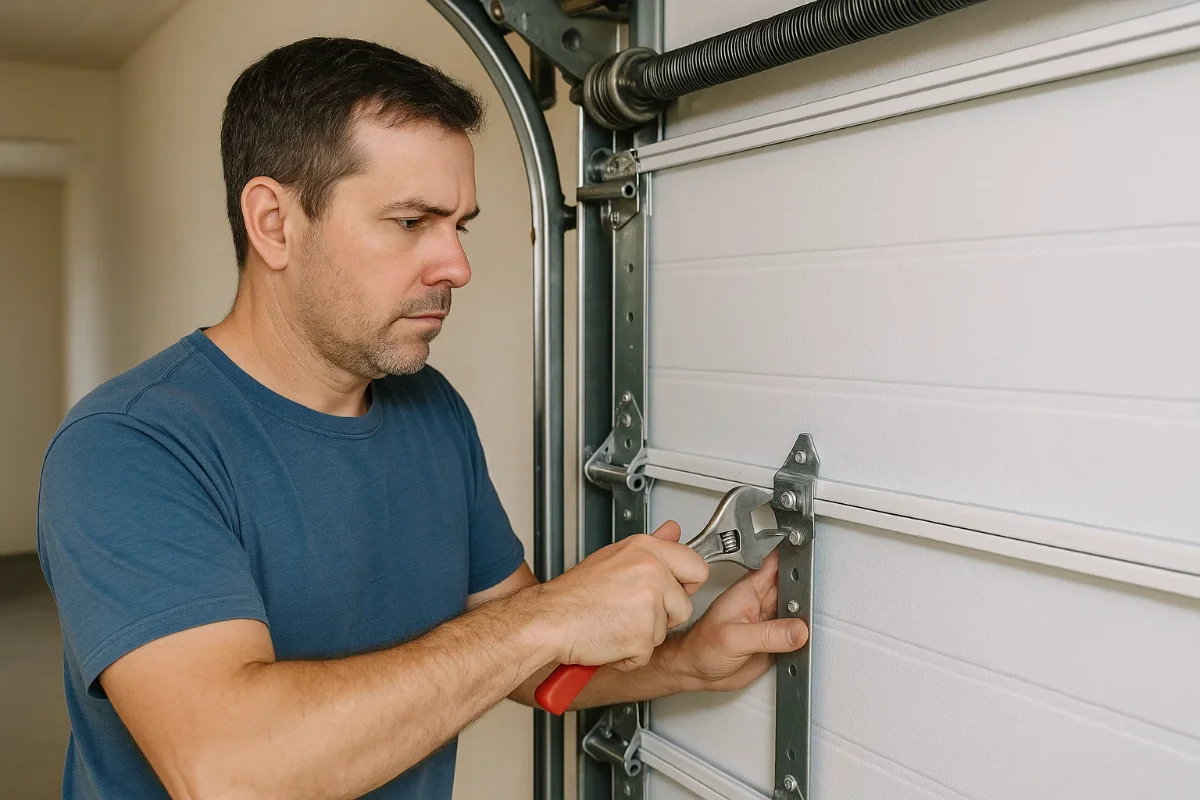
Your garage door gets a workout, opening and closing thousands of times a year, which naturally causes bolts, screws, hinges, and brackets to loosen up over time. Grab a socket wrench and go around tightening everything snugly, but be gentle—overtightening can strip the threads and create new problems.
Focus on the areas that move the most, like the hinge points and track brackets. This simple step restores stability, reduces vibrations, and helps prevent parts from wearing out prematurely.
3. Lubricate All Moving Parts
Smooth movement starts with proper lubrication, so grab a silicone-based spray or lithium grease and apply it to the rollers, hinges, springs, and any other pivot points. Work it in gently to ensure even coverage without making a mess.
Steer clear of WD-40, as it can actually wash away existing grease instead of providing lasting protection. Regular lubing like this keeps your door operating quietly, reduces friction that leads to wear, and makes every open and close feel effortless.
4. Check the Door Balance
To test balance, first disconnect the automatic opener by pulling the release cord, then manually lift the door to about halfway open and let go. If it stays put without drifting up or down, your springs are doing their job well.
But if it falls quickly or rises on its own, the spring tension is likely off, which throws the whole system out of whack. In that case, don’t try adjusting it yourself—call a professional to handle the high-tension springs safely and get things back in equilibrium.
5. Test Safety Features on the Opener
Safety should always come first, especially with an automatic garage door. Place something soft like a roll of paper towels in the door’s path and close it—the auto-reverse should kick in immediately upon contact, lifting the door back up.
Next, wave a broomstick or your hand in front of the photo-eye sensors near the floor; the door should stop or reverse right away if the beam is broken. If these features fail, it poses a real risk to kids, pets, or anything in the way, so address faulty sensors or reversal issues promptly.
6. Inspect and Clean Tracks
The tracks are what keep your door aligned, so wipe them down with a damp cloth to remove built-up dust, dirt, or debris that can cause sticking. Use a level to check for any bends or shifts out of place, and straighten minor ones if you’re comfortable.
Remember, never add grease inside the tracks. It attracts more grime and can make rollers slip. Clean, straight tracks ensure smooth gliding and help avoid misalignment that stresses other components.
7. Examine Weatherstripping and Seals
Take a close look at the rubber weatherstripping along the bottom and sides of the door. If it’s cracked, brittle, or peeling away, it won’t block drafts, water, pests, or outside air effectively anymore.
Replace worn sections with new strips that match your door’s size, and consider applying a bit of silicone sealant around edges for extra protection. Good seals keep your garage comfortable, protect stored items, and even help with energy efficiency in your home.
8. Listen for Unusual Noises
As you open and close the door a few times, tune in to any sounds it makes. Grinding, screeching, clunking, or rattling often signals wear on rollers, hinges, the motor, or other parts needing attention.
Try to pinpoint the source while it’s happening, and note if lubrication quiets it down. Persistent noises after your monthly care mean it’s time for a closer look, don’t let them turn into bigger mechanical failures.
9. Check Opener Remotes and Backup Battery
Test your remotes and wall switch to ensure they respond quickly without delays. Swap out batteries in the remotes every few months to avoid weak signals, and wipe any dust from the sensor eyes on both the remote and the opener unit.
If your system has a backup battery for power outages, confirm it’s charged and functional. Reliable controls mean you never get stuck outside, adding convenience and security to your daily routine.
10. Wipe Down the Door Panels
Finally, give the exterior panels a gentle cleaning with mild soap, water, and a soft cloth or sponge to remove dirt, bird droppings, or road grime. This not only keeps your door looking sharp and curb-appeal ready but also prevents buildup that leads to corrosion over time.
Inspect the paint or finish for chips, cracks, or fading, and touch up as needed with matching products. A clean surface protects the material underneath and helps spot any developing issues early.
When to Call a Professional
While most of this monthly checklist is DIY-friendly, some tasks are best left to experts. If you notice problems with springs, cables, or need balance adjustments, attempting fixes yourself can be dangerous due to the high tension involved.
The same goes for an opener motor that overheats, sensors that keep failing, or any electrical glitches. Routine checks are awesome for prevention, but technical repairs require specialized tools and know-how. For reliable local help, Forge Garage Door Repair League City offers quick maintenance and tune-ups when needed—just give us a ring at +1 (713) 275-8734.
How Often Should You Perform Garage Door Maintenance?
Timing your efforts right keeps things manageable. Do a full visual check and the basic steps in your garage door maintenance variations every month to stay on top of wear.
Lubricate moving parts every three months for ongoing smoothness. Then, schedule a professional full tune-up every six to 12 months, depending on how much you use the door. Consistency is what really counts here. Short, regular habits build up to a stronger, more reliable system without overwhelming your schedule.
Final Thoughts
You’ve got this! Most of the steps in this garage door maintenance checklist are straightforward and empowering for any homeowner to tackle on their own. By making it a monthly habit, you’re investing in safety, quiet operation, and a longer lifespan for your entire setup.
A few minutes each month can save hundreds in repair costs and keep your garage door running quietly all year. If anything feels off or you need a hand, our team at Forge Garage Door Repair League City is here to help with expert advice or service.
- FAQs
Frequently Asked Questions
At minimum, do a quick inspection monthly and a full tune-up every six months. Check hardware, lubricate moving parts, and test opener safety features regularly.
Use a silicone-based spray or lithium grease designed for metal parts. Avoid WD-40 — it’s a cleaner, not a long-term lubricant.
Usually, it’s due to dry rollers, loose bolts, or worn hinges. Apply lubricant and tighten connections. If the noise persists, a technician should check the springs or bearings.
No. Springs are under extreme tension and can be dangerous to handle. Only professionals with proper tools should adjust or replace them.
Grinding noises, uneven movement, slow response, and visible wear on cables or rollers all signal it’s time for inspection or lubrication.

